AUDACITY / FX-02 NOISE
How to remove background noise in Audacity
Use Audacity's free Noise reduction effect to take out steady background sound like fan hiss, air conditioning or computer hum. You teach it what the noise sounds like, then it removes that sound from the whole recording.
CHECKED IN AUDACITY 4.0.1
No time for the editor? Remove background noise from audio free in your browser. It tells you what's wrong first, and nothing is uploaded.
Steps
- STEP 01
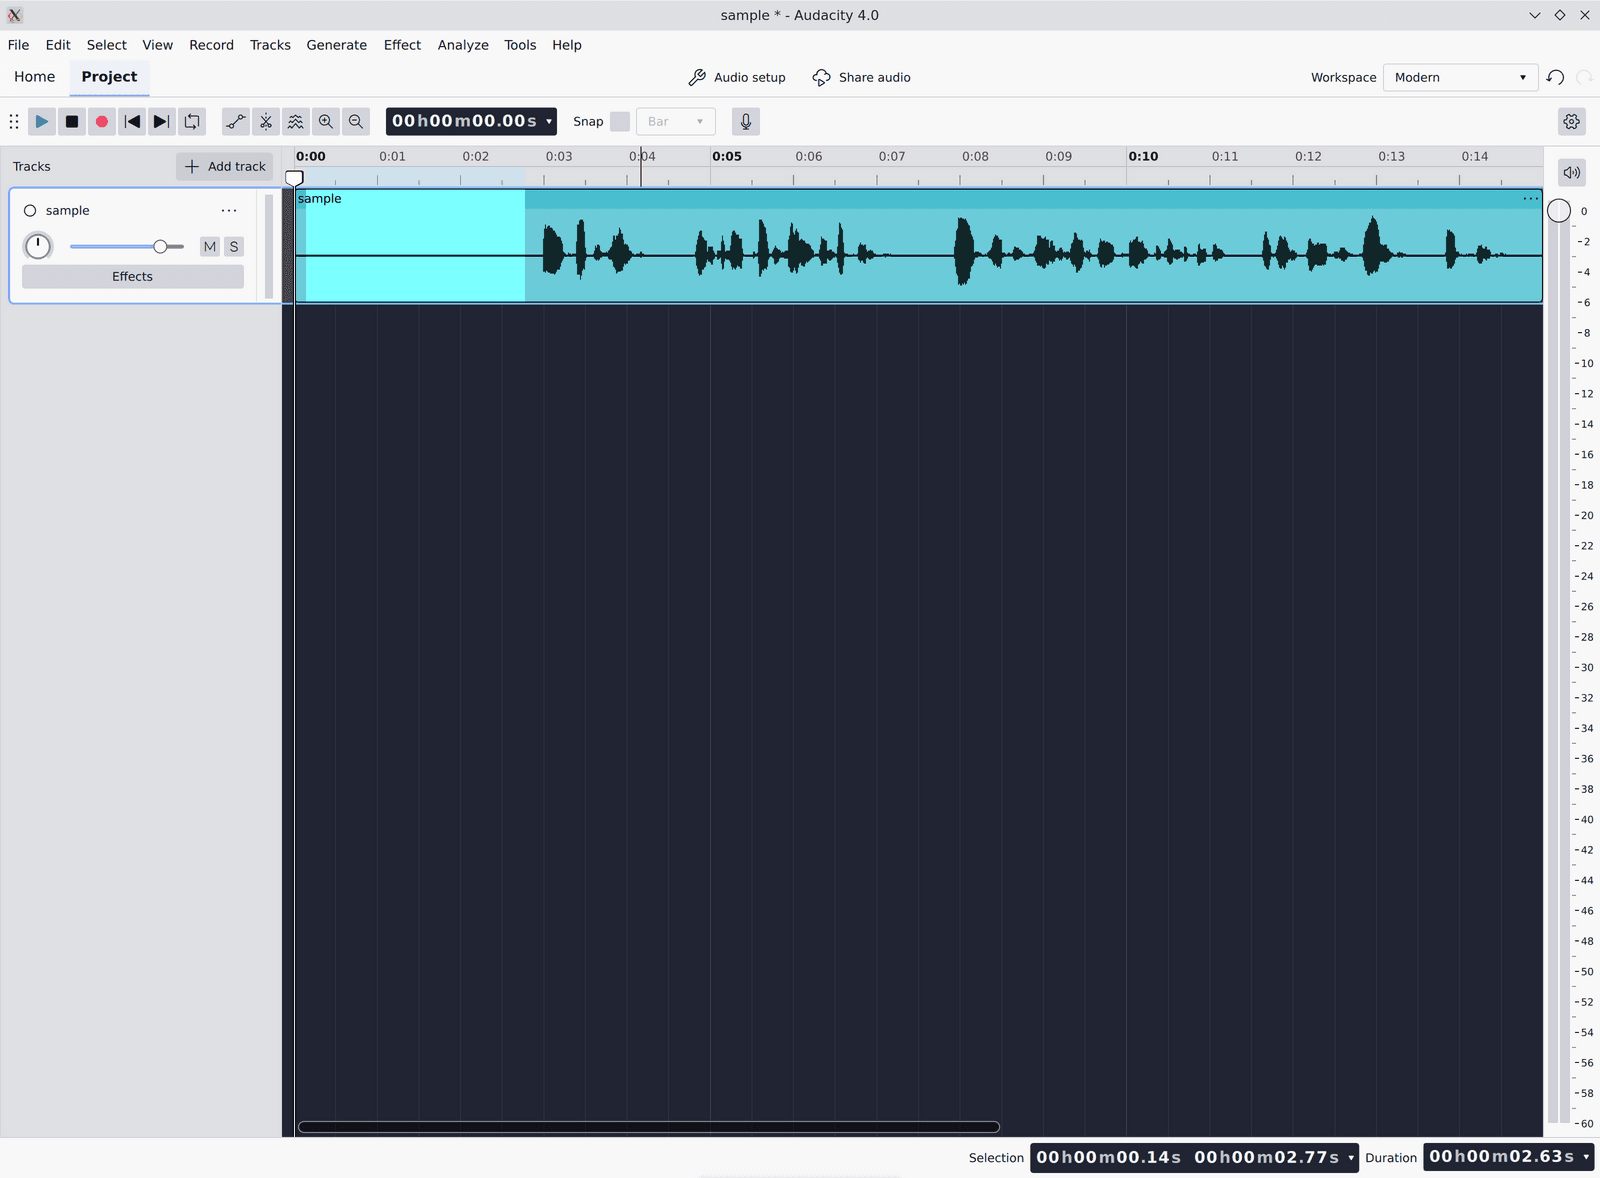
Select a few seconds of noise only
Find a stretch where nobody is talking and only the background noise plays, ideally two seconds or more. Click and drag across it in the waveform to select it. Our practice file has three seconds of noise at the start for exactly this.
- STEP 02
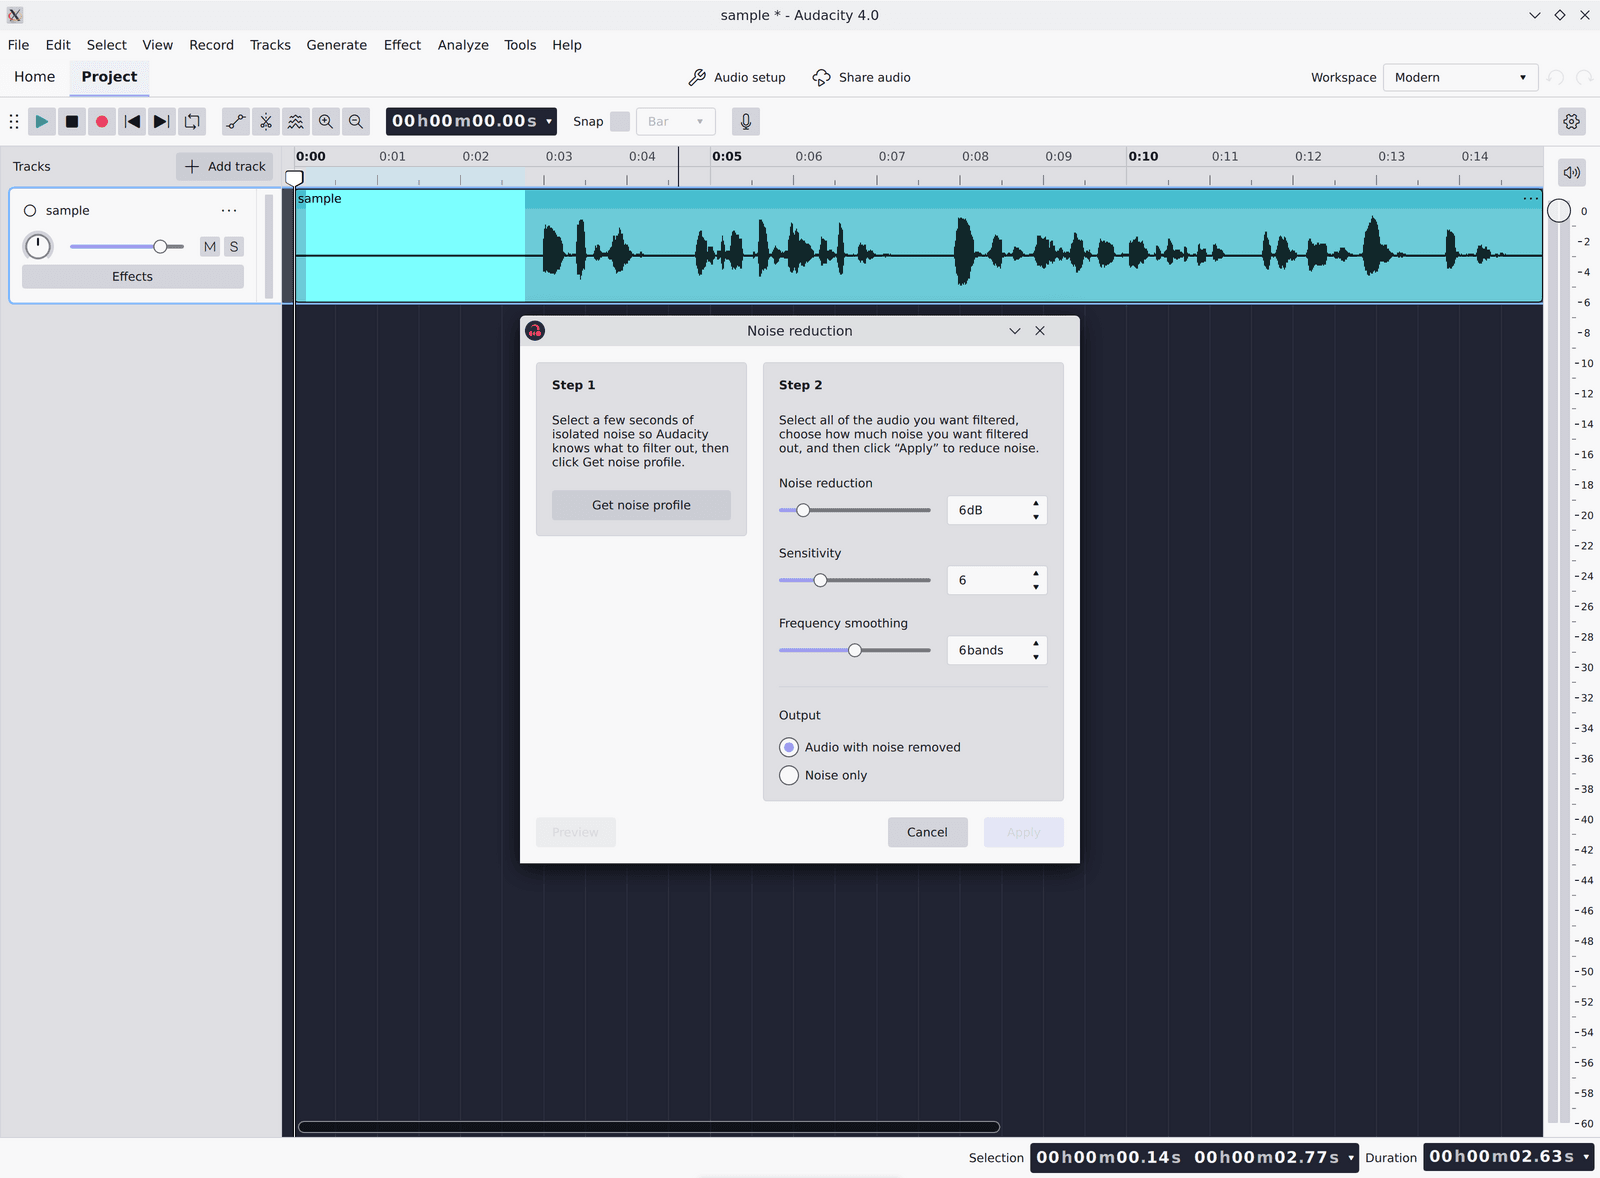
Get the noise profile
Go to Effect > Noise removal and repair > Noise reduction. In the Step 1 section, click Get noise profile so Audacity learns what your noise sounds like.
- STEP 03
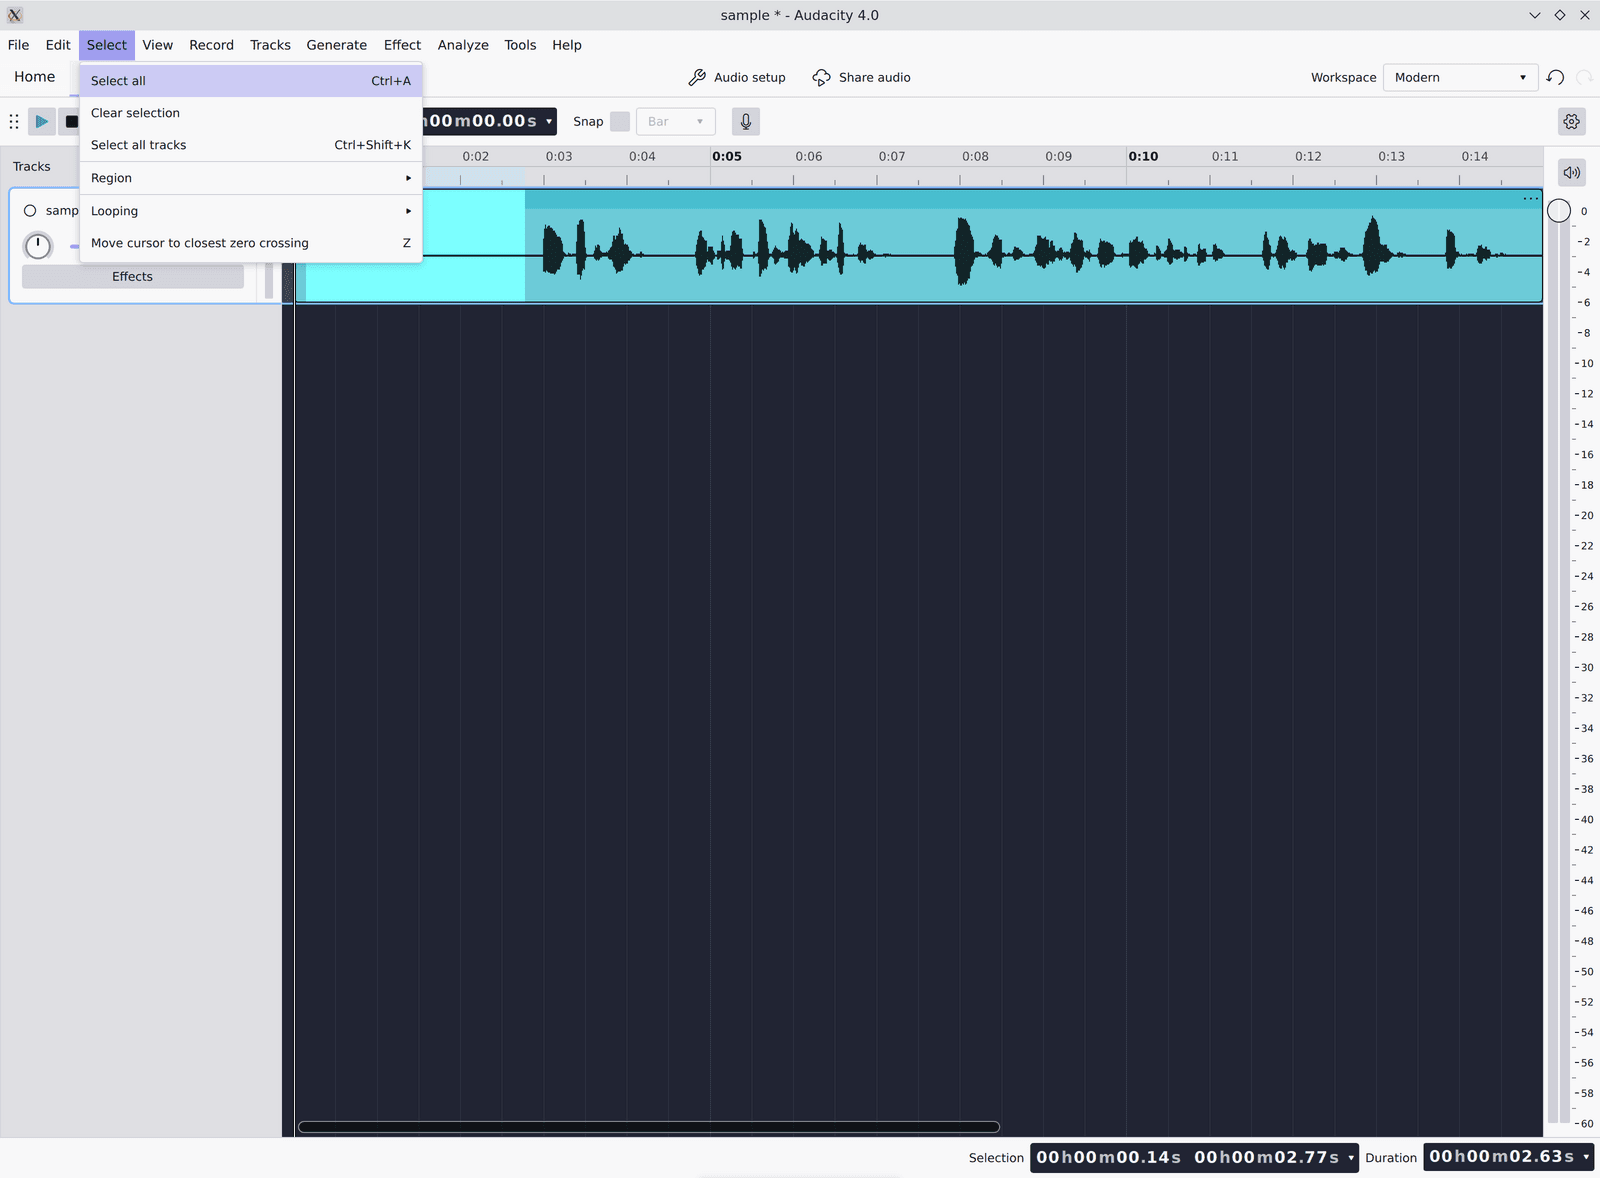
Select all of the audio
Go to Select > Select all, or press Ctrl+A (Cmd+A on a Mac). Noise reduction only works on what is selected, so this makes sure the whole recording gets cleaned.
- STEP 04
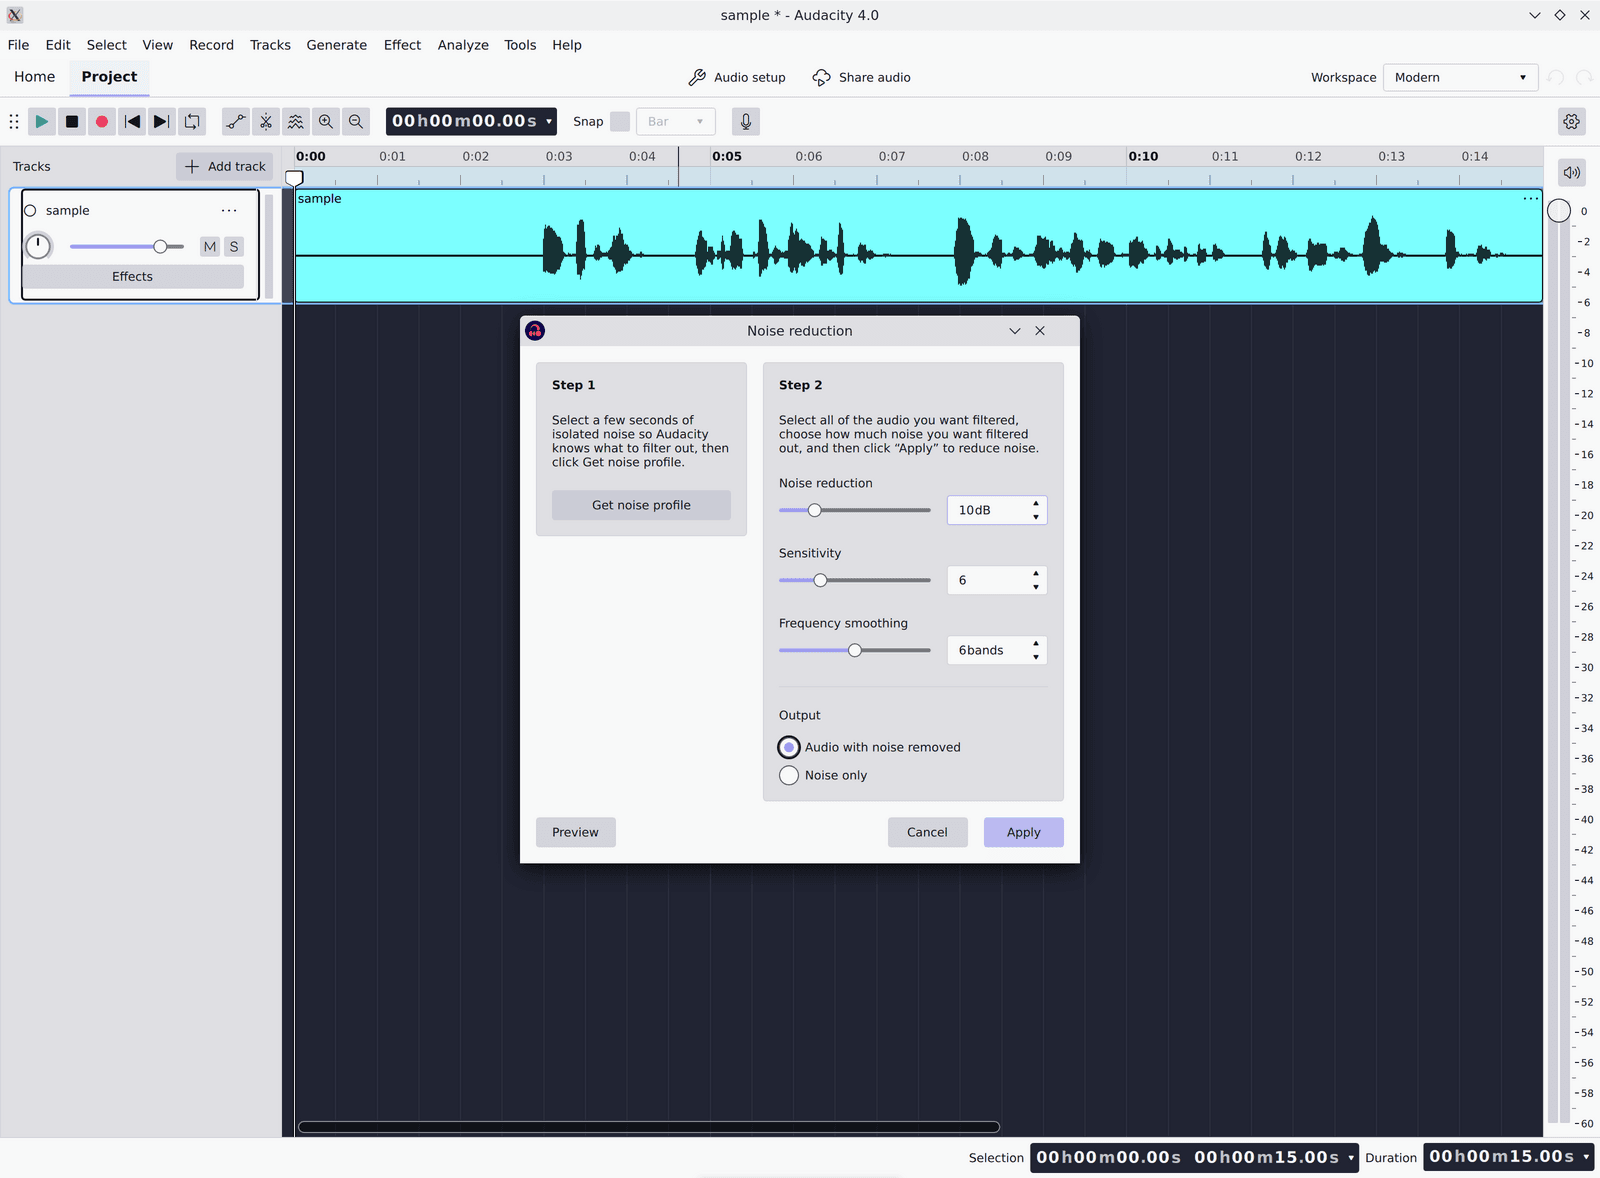
Set a gentle amount
Open Effect > Noise removal and repair > Noise reduction again. Set Noise reduction to somewhere from 6 to 12 dB, and leave Sensitivity at 6 and Frequency smoothing at 6 bands, their defaults. We used 10 dB on the practice file below.
- STEP 05
Check what gets removed
Set Output to Noise only and click Preview. You should hear hiss and hum, not words; if you can hear speech, lower Noise reduction or Sensitivity. Then set Output back to Audio with noise removed.
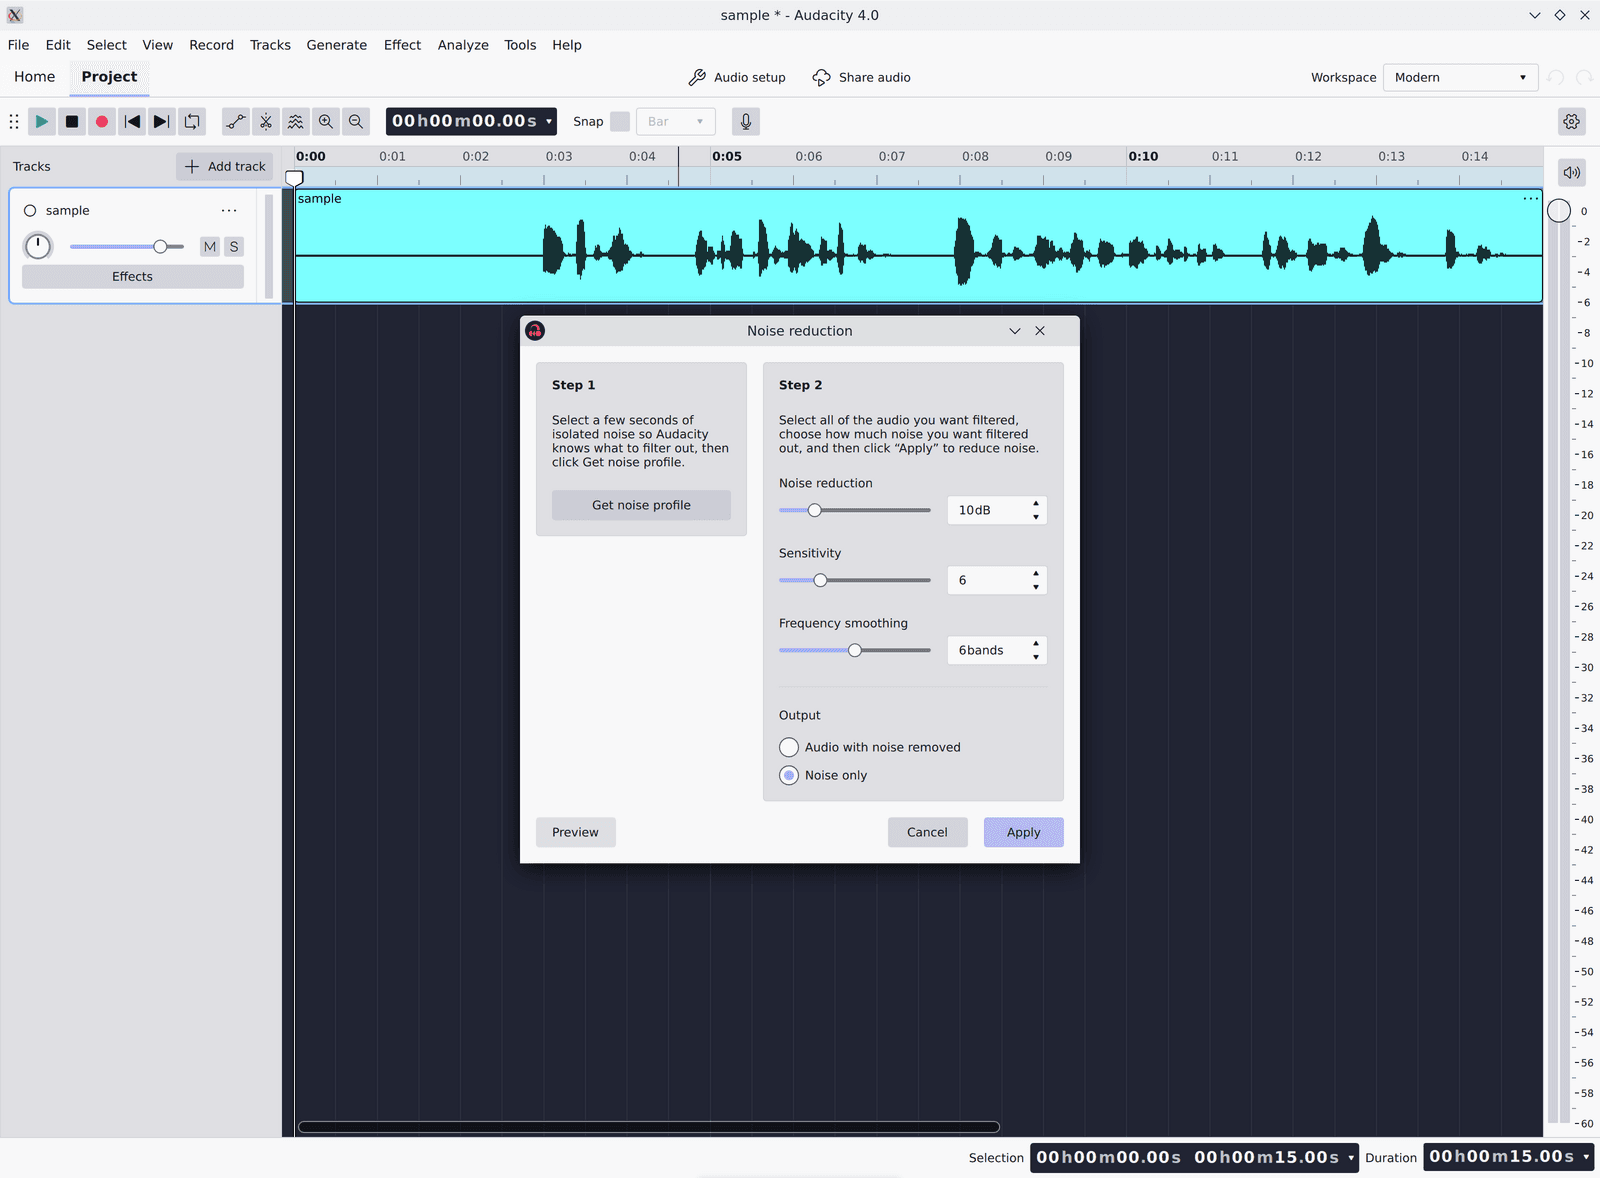
- STEP 06
Apply and listen
Click Apply, then play the result. The waveform barely changes at this zoom, so trust your ears: if voices sound metallic or watery, press Ctrl+Z (Cmd+Z on a Mac) to undo and try again with a lower Noise reduction value.
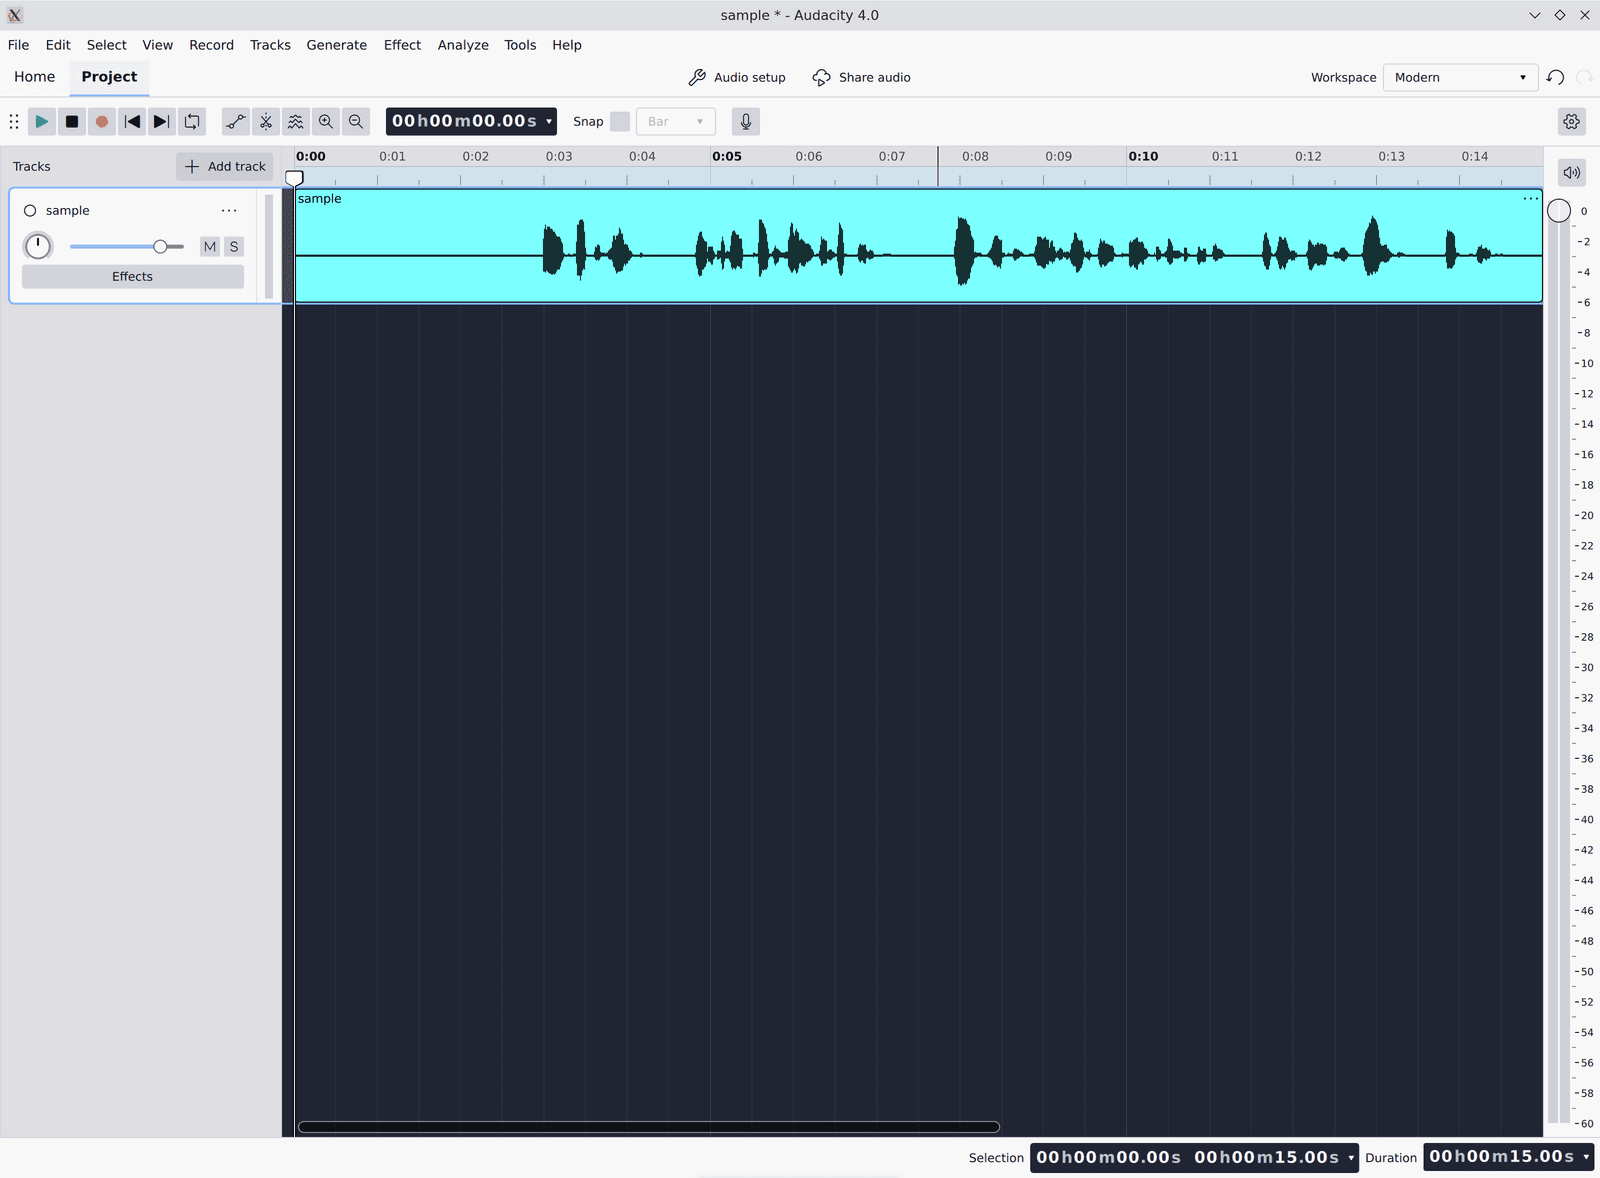
Hear what it does
We ran these exact steps on a practice file and kept Audacity's output, so you can hear how far a gentle setting goes and what pushing it too far costs. Download the practice file to try it yourself.
Three files at the same loudness. The second and third are Audacity 4.0.1's own exports, made while the screenshots above were taken; nothing in them was processed by fix.fm.
Practice file, as recorded
3 seconds of a steady fan-like noise, then the reading over it, 25 dB under the voice. Download this to follow the steps yourself.
After step 6 at 10 dB
Noise reduction 10 dB, Sensitivity 6, Frequency smoothing 6 bands. The fan drops 10 dB in the pauses and the voice is left alone.
Too far: 30 dB with Sensitivity 12
The pauses go almost silent, but listen to the quiet word at 8.6 seconds: it has lost 8 dB and the voice has a watery edge.
Public-domain LibriVox voice with software pink noise added, not a real fan. Measured with fix.fm's noise check: voice over background 32.7 dB as recorded, 42.6 dB at 10 dB, 60.3 dB at 30 dB; the softest word reads -1.6 dB and -7.9 dB against the original.
Tips
- Record five seconds of silence at the start of every session. It gives you a clean noise sample to use as the profile later.
- Two light passes usually sound better than one heavy one. Press Ctrl+R (Cmd+R on a Mac) to repeat the last effect with the same settings.
- If a little hiss is still there between sentences, try Effect > Noise removal and repair > Noise gate after noise reduction. It turns the sound down only in the quiet parts.
- On Audacity 3.7, the same effect is at Effect > Noise Removal and Repair > Noise Reduction. Its Output options are called Reduce and Residue, and you click OK instead of Apply.
When Audacity isn't enough
Noise reduction works best on steady noise and can't do much for things that come and go, like traffic, dogs or other voices, and it won't tell you what else is wrong with the recording; for a quick check and fix, fix.fm names the problem and cleans it free in your browser, with nothing uploaded.
fix.fm listens to the whole file, tells you in plain words what's wrong, and fixes it right here in your browser. Free, no sign-up, and your file never leaves your computer.
SOURCES
- https://www.audacityteam.org/manual/effects/noise-removal-and-repair/noise-reduction
- https://www.audacityteam.org/manual/effects/noise-removal-and-repair/noise-gate
- https://www.audacityteam.org/manual/menu-bar/select
- https://support.audacityteam.org/au3/repairing-audio/noise-reduction-removal
- https://manual.audacityteam.org/man/noise_reduction.html